All Text, Graphics, Animations, Video, and
Commentary on this website was created by, and is the intellectual property of
m4040@m4040.com. All Rights Reserved. Unauthorized reproduction is punishable by
up to a $500,000 fine or 5 years imprisonment
for a first offense, and up to
a $1,000,000 fine or up to 10 years imprisonment for subsequent offenses
under the Digital Millenium Copyright Act
(DMCA). Requests for use of this material should be forwarded to
m4040@m4040.com.
Why did I add
this disclaimer? SEE WHY.
 |
VISIT M40's WILDERNESS SURVIVAL STORE
The best wilderness survival gear on the market!
Backyard campers and Rambo
wannabe's... go buy a Bear Grylls kit. When you get serious about your
wilderness activities... come see my gear. Hikers, mountain bikers,
cross country skiers, ATV'ers, off-roaders, and others whose activities
carry them far and wide... discriminating outdoorsmen opt for quality
gear. |
 M40's
Dollar Survival Knife
M40's
Dollar Survival Knife
Okay, so I did a 10 cent survival knife. Now it's time to
go high end... this time we'll spend a whole buck. I know it's a splurge, but
why the heck not?
For the Dollar Survival Knife, I use reciprocating saw
blades. These are commonly known as Sawzall blades after the original Sawzall
tool that uses them. There's a ton of different Sawzall blade shapes and sizes,
so the possibilities for blade making are near endless.
I like to use the 'demolition grade' blades. They’ll cut
wood, metal, plaster, wire, or pretty much anything you’d care to throw at them.
They're made from decent carbon steel that will take and hold an edge rather
well. When bought in packs of a dozen, they can be had for about a buck each.
Singles can run 2 or 3 bucks apiece. May as well pick up a bulk pack and see
what comes out of it.

The blade above is rated for use with 'nailed wood',
meaning that it won't kill it to saw through nails... sounds good to me. Here's
one shaped out...

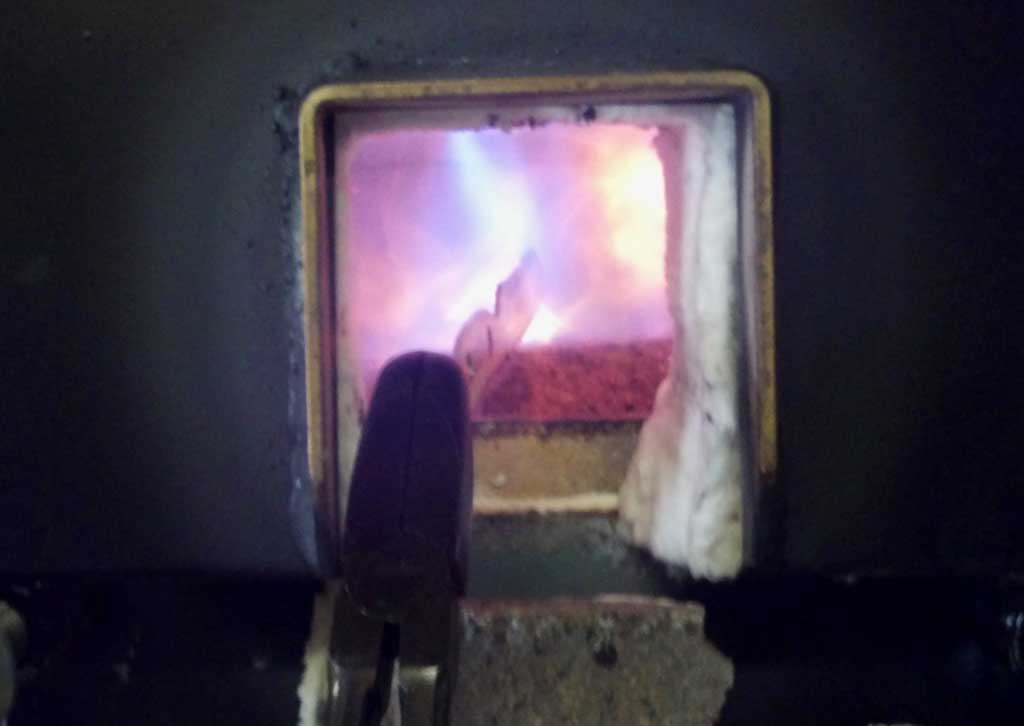
I'll mention here that you have several options for
removing the paint and for hardening. I've used paint stripper on these and it
works quite well. A wire wheel will work as well, but it might take a while. The
option I normally choose is to simply put it in the forge for a minute or so and
take it to a nice glowing orange color.
While I typically harden and then temper these, I will
mention that they do okay with no additional hardening. The saw edge is already
very hard, but you'll find that your knife edge is at about spring hardness.
This will hold an edge, but not for all that long. It will require more frequent
honing, but is easy to resharpen. If you don't know much about hardening and
tempering, that may be the best option.
So here's my blade after a trip to 2000+ degrees and a
water quench (blade only)...

...and after some cleanup and tempering. For temper I put
it in a toaster oven at 350 for an hour. This gives me a blade that's a bit more
brittle than some might like, but it takes and holds a wicked edge, and I know
better than to pry things with it.

The possibilities for handles, sheaths and finishes are
near endless. I'll cover several below.
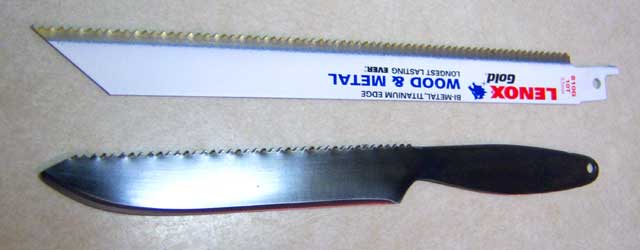
Here's a wood and metal rated blade next to one that's
been blued and roughed out. All ready for handle, sheath, etc.
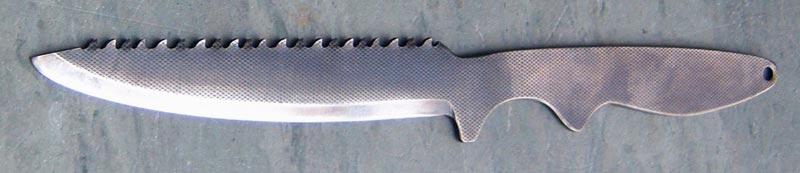
Here's another one roughed out...
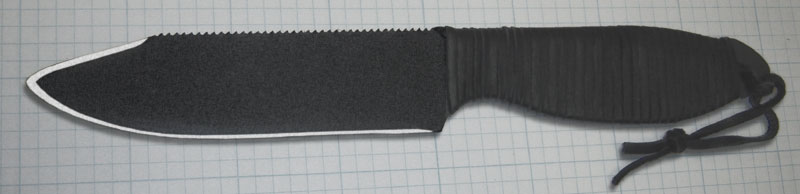
This one is finished with Brownell’s Gun-Kote and wrapped
with deerskin cord.
Here's a wicked little 'shorty' finished out with some oak
dowel stock I had kicking around. Makes a great whittler.
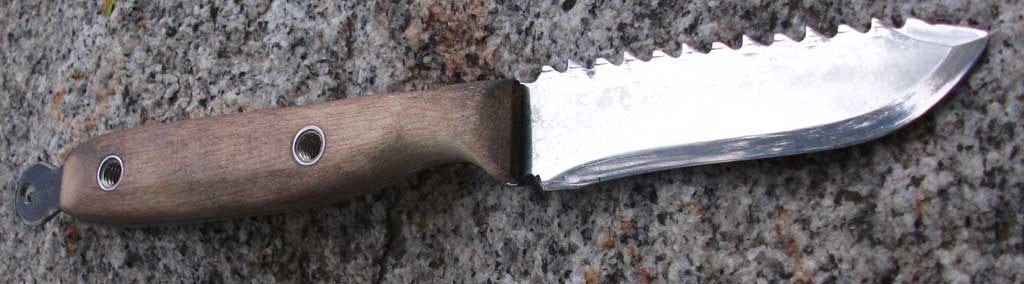
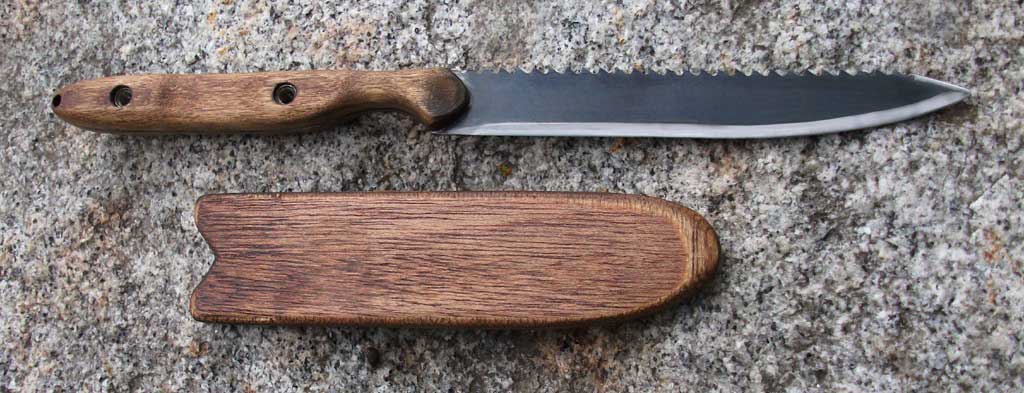
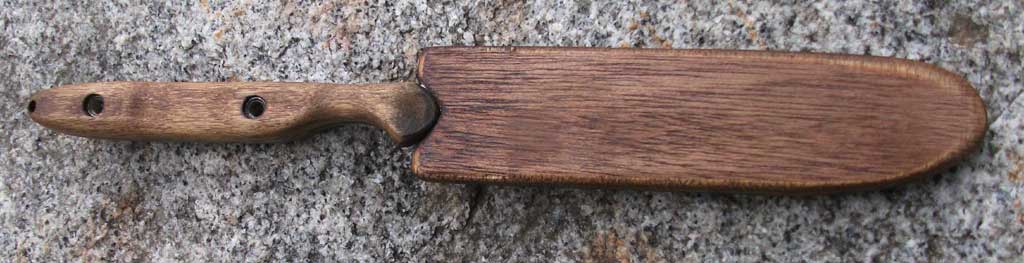
Another one finished out with stained oak dowel stock and
with a matching wooden sheath. (Blade is darkened with Brownell's Oxpho Blue)
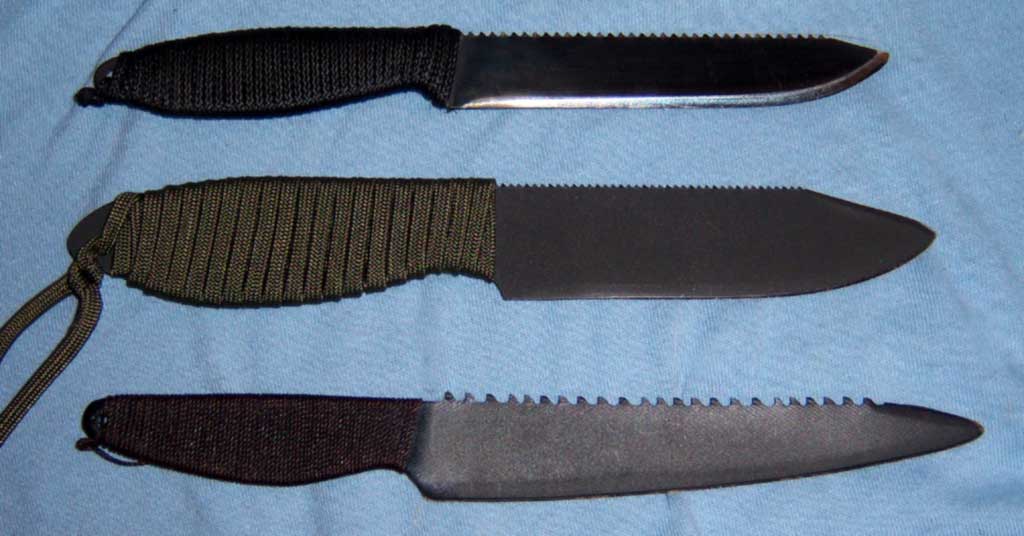
Here's a few different blade types done with various
finishes (blued, Gun Kote, etc) and with simple cord wraps...
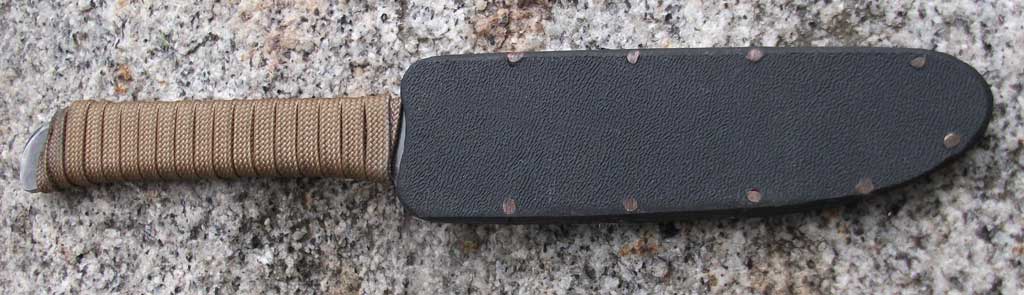
Here's one that's become a favorite EDC with a paracord
wrap and a copper riveted kydex sheath...
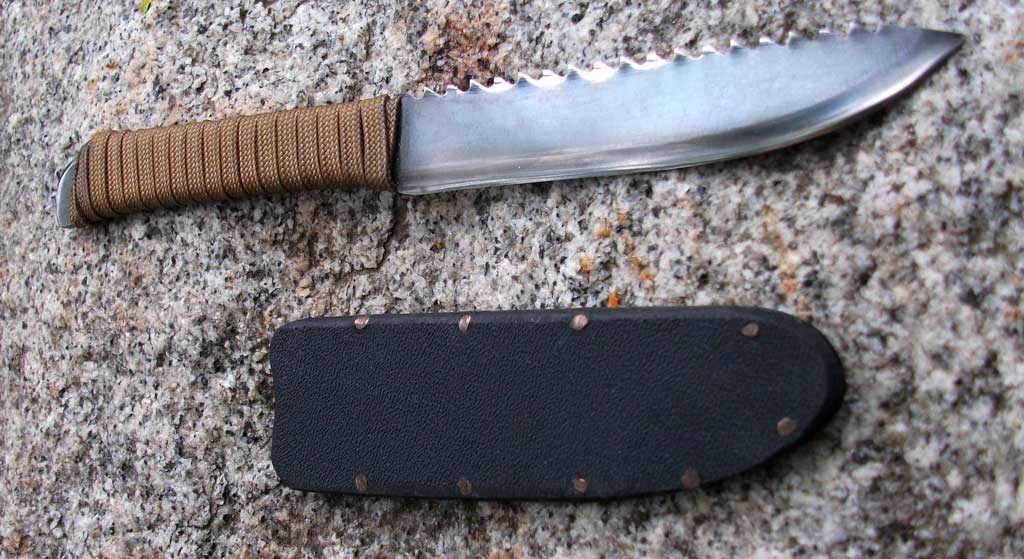
I don't carry on neck cord, I just slip it in a pocket.
It's really light and slim.
Rubber tool dip makes for decent handle material as well, and is also a good
undercoating for cord wraps.
ANOTHER PROJECT
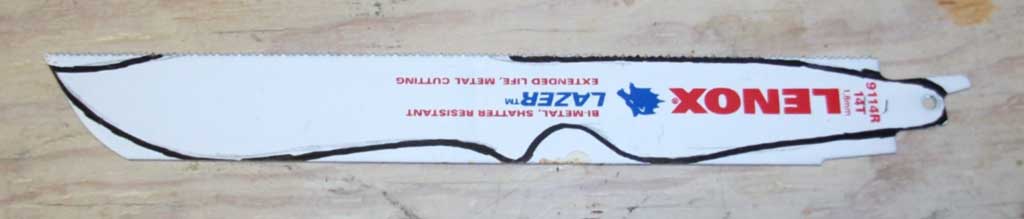
This is yet another Sawzall Blade I did recently, and I
took some decent pictures along the way. I started with a rather wide blade
rated for cutting metal.

Here's my basic design drawn on the blade with a sharpie
marker...
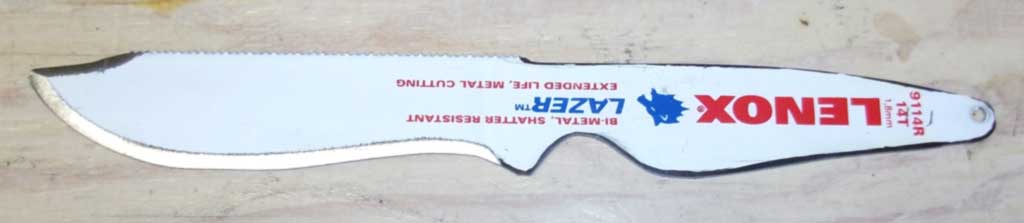
Here's the basic shape after roughing it out...
Here it is after a dip in Zip Strip and cleaned up with a
wire wheel. It has also been drilled for handle scales.

I used a table saw to slice some thin scales from that
plasticized wood decking stuff. I forget the brand name, but I had a few pieces
kicking around and thought it would make for a good weather resistant and
somewhat tough handle.
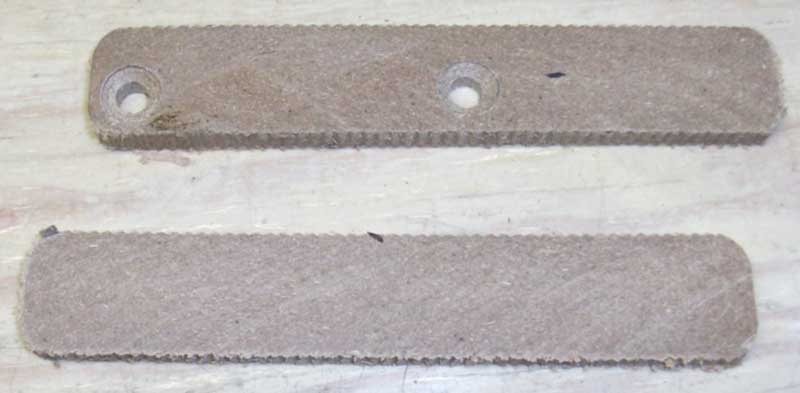
Here's the shaped out handle scales.
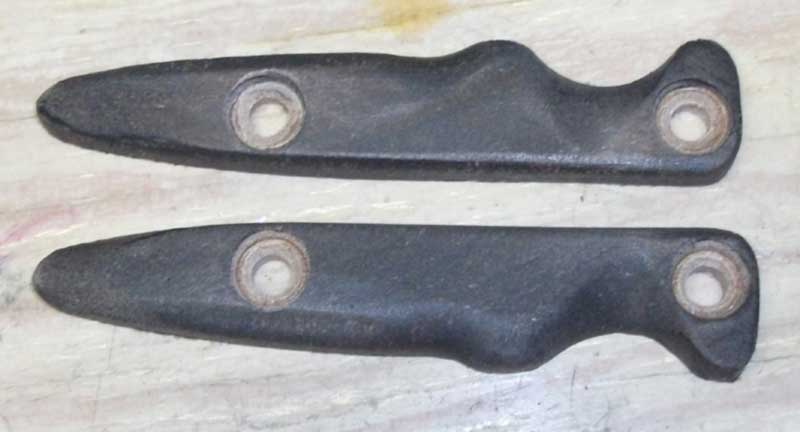
Next, I coated the handle scales in truck bed spray coat.
It's a durable textured plastic spray finish...

Finally, I gave the prepped blade a 10 minute soak in
phosphoric acid to give it a good purchase for paint. I used dull olive drab
spray paint on both the blade and the hardware. Here's all the pieces set out to
dry.

...and finally, the finished project (well... it still
needs a sheath).

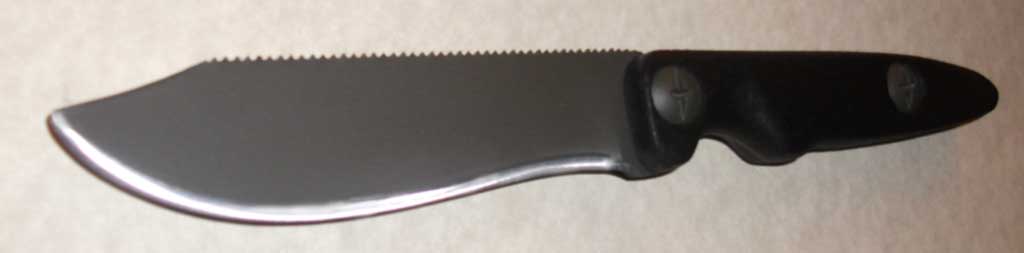
Note that I didn't harden this one. I can sharpen it in
the field as needed, and I wanted maximum spring and toughness out of it for use
as a spear head. The handle is easily removed and the blade can be lashed or
screwed to a long stick for a fishing spear. I plan on keeping some screws with
it in the sheath for just that purpose. The saw teeth should keep anything I
spear from slipping off and escaping.
PARTING THOUGHTS
These have a thousand uses as both survival blades and as utility knives. There
are a ton of possibilities as far as shape and size. Just use your imagination. Even if you screw it up
or break one, it's only a buck or two and an hour of your time down the drain.
Good Luck!
-M40-
HELP SUPPORT THIS SITE - M40 SURVIVAL KITS ON SALE NOW!
Go to SURVIVAL RELATED PAGES
or
RETURN TO BLADESMITHING PAGE