HELP SUPPORT THIS SITE - M40 SURVIVAL KITS ON SALE NOW!- Comes with an ultra-thin, ultra-packable, 6'x9' survival tarp!
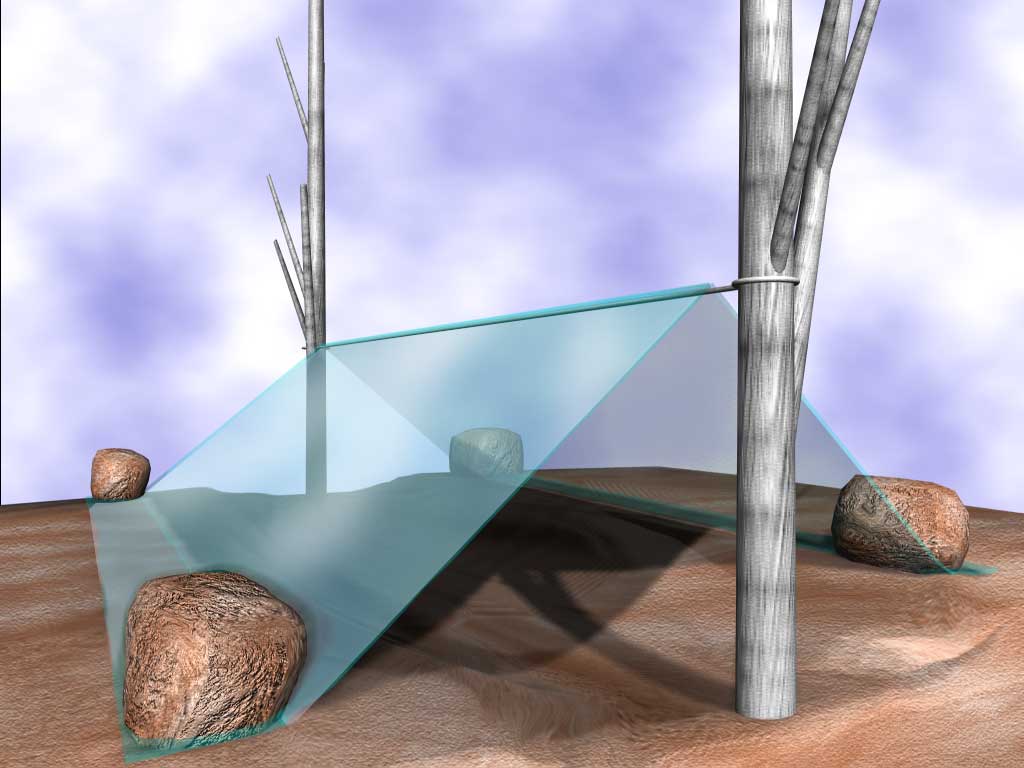
Tarp Shelters are probably the most basic structures you can build. There are a bunch of unique designs out there, but I'll just cover a couple basics. You need only a tarp or sheet of plastic and usually some rope or cord. As you can see in the picture below, the cord has been tied between two trees and the plastic sheet draped over it. Rocks are used to hold down the corners, as it is always best to not puncture it by using stakes.
Notice that I have depicted it as being erected over a slight depression in the ground. This allows for a little more interior space, and room for a nice evergreen sprig mattress to keep one off of the ground. If you are going to do this, make sure that the depression is not located in such a way as to collect water. If necessary, build small embankments just inside the tent at either end in order to dam off any water that may trickle your way.
Note that these pup tent style shelters can be modified to suit your needs. If you want to shed wind or keep it low profile, you can easily drop an end down to ground level as shown here:
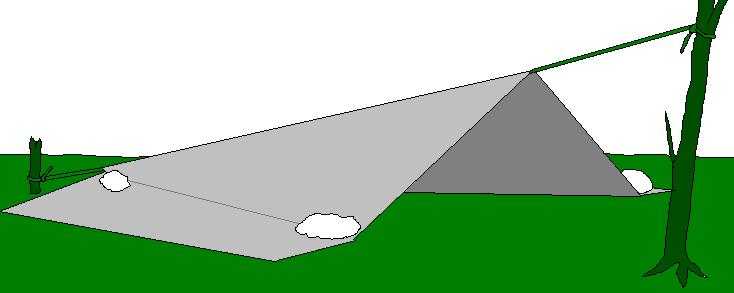
If the wind were coming from the left, this tent style would shield you from most or all of it. If you need even better shielding from the elements, see the Tepee style shelters below.
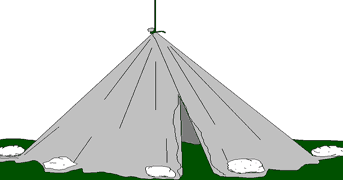
Tarp Tepee
Here's another tarp structure that is extremely simple to construct... possibly the fastest and easiest I know of. It only uses a single tie-off point at the top and wraps around like a tepee. This is probably better in cold, wet or windy environments where you may want to be able to close it off from the elements. It requires very little cord (or even none at all if you can tie the plastic itself to an overhanging branch). I don't recommend a center pole as you can easily tear thin plastics. If you are somewhere that has no overhanging trees, I would recommend either picking the pole very carefully or draping the whole over a shrub or rock as a center support.
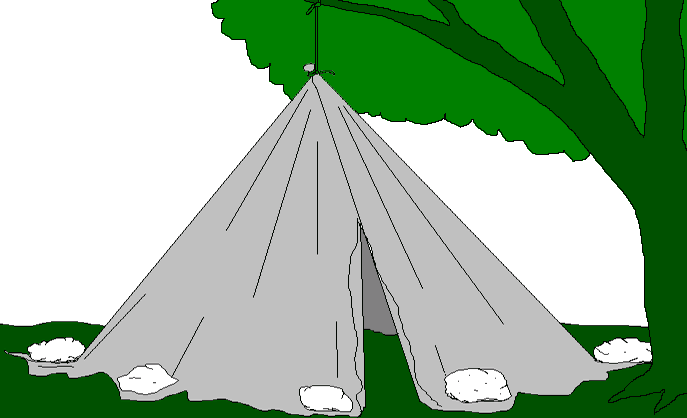
Rocks, logs, sand or any other weighted material is used to hold down the edges (you should never use stakes... keep your material free of holes and tears if you can). Likewise, the center tie-off should be done without puncturing your material. See the section titled, "Securing Tarps" for more information.
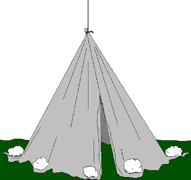
The pitch of this type of shelter refers to how steep the walls are. It can be tall and skinny, short and squat, or somewhere in between as shown in this picture. The pitch of the walls can depend on the size of the tarp you're working with, but will also need to be determined by the weather conditions. A steep walled teepee will be better for shedding water and snow. A very shallow angle will hold up better in windy environments.
Steep Pitch Shallow Pitch
A quick tip for those who use tube tents, painters tarps, trash bags, mylar space blankets or other thin plastics. You do not want to pierce these when making a shelter, as they WILL continue to tear. There is a very simple way to anchor these without piercing. As shown below, push a small object (rock, small stick, sand etc) up from the underside of the tarp. Wrap a loop around it from above, and pull tight. Presto!
HELP SUPPORT THIS SITE - M40 SURVIVAL KITS ON SALE NOW!