HELP SUPPORT THIS SITE - M40 SURVIVAL KITS ON SALE NOW!
This is a shelter that is a bit more work to build, but can be done without too much trouble if the right terrain features are present. It is scalable, meaning that, in a pinch, you can build one just big enough for yourself, and you can also build it big enough to shelter a small family, depending on how much work you want to do.
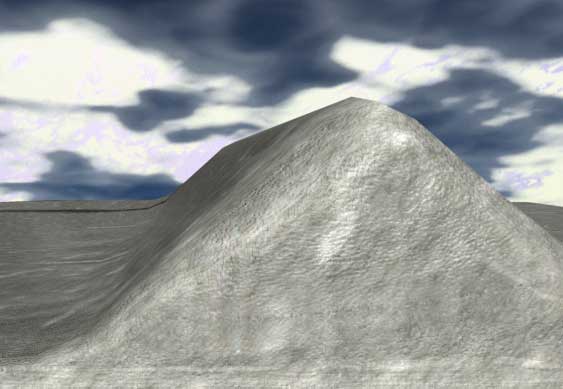
Step one is to find the right terrain feature. You are looking for a hiltop or a small ridge, and in conditions where it is not very hard to dig (ground is not tough or frozen). I mention hillTOP or ridge in that your fireplace depends on being able to dig through to the other side. Read on, and you will understand.
Step One: Find a slight rise or ridge to use. I have made the following pictures to show a cutaway view of the mound or ridge.
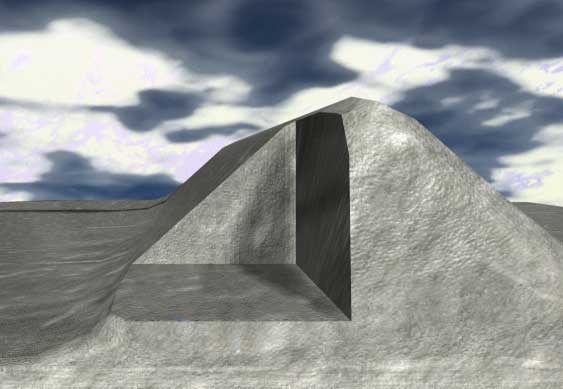
Step Two: Dig away the hillside to give you an area big enough to move around in. You should end up with a flat area large enough for you (and others, if necessary) to sleep in.
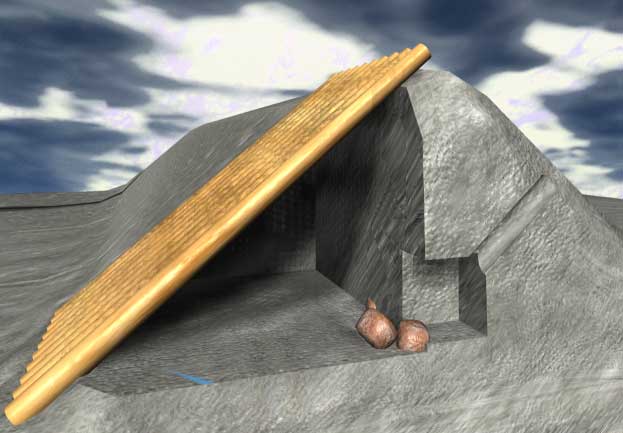
Step Three: You will now cover this dug out area with logs/saplings, etc. Patch large gaps with sticks, other poles, etc. You may now optionally dig out the fire pit as shown. The reason that this shelter is based off of the specific terrain feature is that your chimney needs to vent out the back as shown below. There are other ways to vent as well... use your common sense based on the terrain you choose.

Step Four: Make the door as a small dugout area at the edge of the logs at the fire end of the shelter (this is because as the fire consumes air, it will draw it from outside without drawing cold air across the sleeping area). You are now ready to cover the poles with a heavy coating of leaves, and finally with soil. See the next couple pictures.
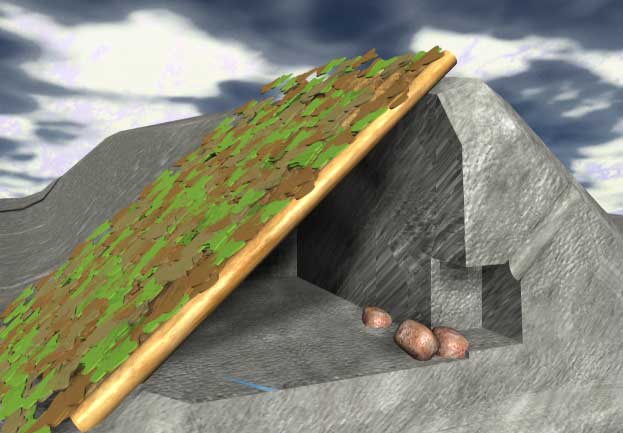
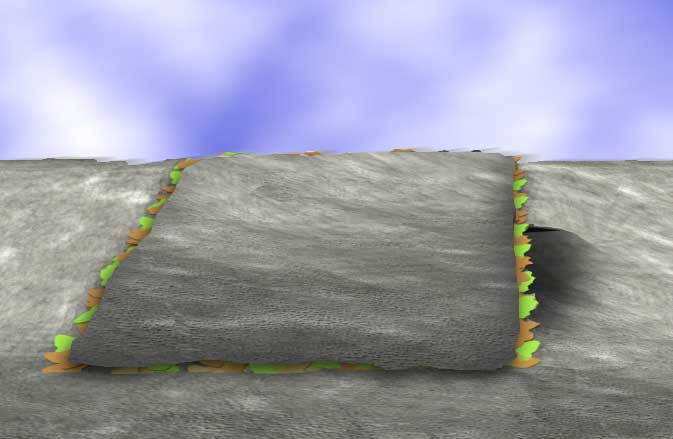
Shown below with leaf covering, ready for soil or branches to hold it in place. Although I have shown only a few inches of leaves covering the roof, you are actually better off with a foot or two for decent waterproofing. I'm afraid that my 3D rendering software gets a little bogged down with hundreds of objects. The few hundred leaves I 3D rendered here were already quite taxing on my system, and I dared not keep adding layers!
A non-cutaway view showing the outside of the shelter, the doorway, and soil covering (I have left the edges of the leaves showing to help delineate where the shelter lies.
PRESTO... You've got a decent shelter. A nice crackling fire will keep things cheery and warm.
HELP SUPPORT THIS SITE - M40 SURVIVAL KITS ON SALE NOW!