
HELP SUPPORT THIS SITE - M40 SURVIVAL KITS ON SALE NOW!
This is my favorite shelter, as it is relatively quick to build (provided you find the right terrain and materials handy), and provides a warm and dry place to live. It is scalable, meaning that, in a pinch, you can build one just big enough for yourself, and you can also build it big enough to shelter a small family, depending on how much work you want to do.
Step one is to find the right terrain feature. You are looking for a depression in the ground. The size of the depression will likely be the size of your shelter, so shop around. (Note: You can always dig it out to make your shelter bigger, but the goal is to expend very little energy in the construction). Also, make sure your depression is not an area that water is likely to collect in. I look on higher ground, at the tops of small hills and such.
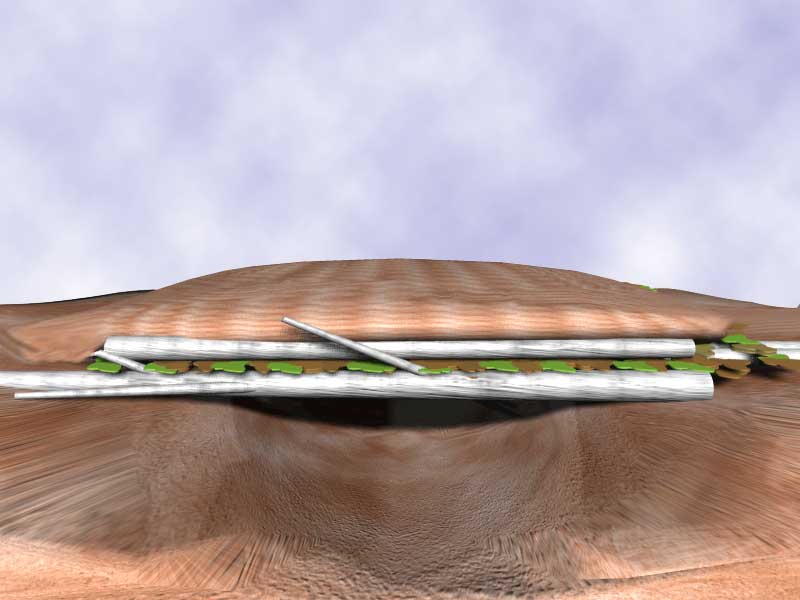
Step One: Clear all leaves and debris from hole. Save them, as you will need them later.
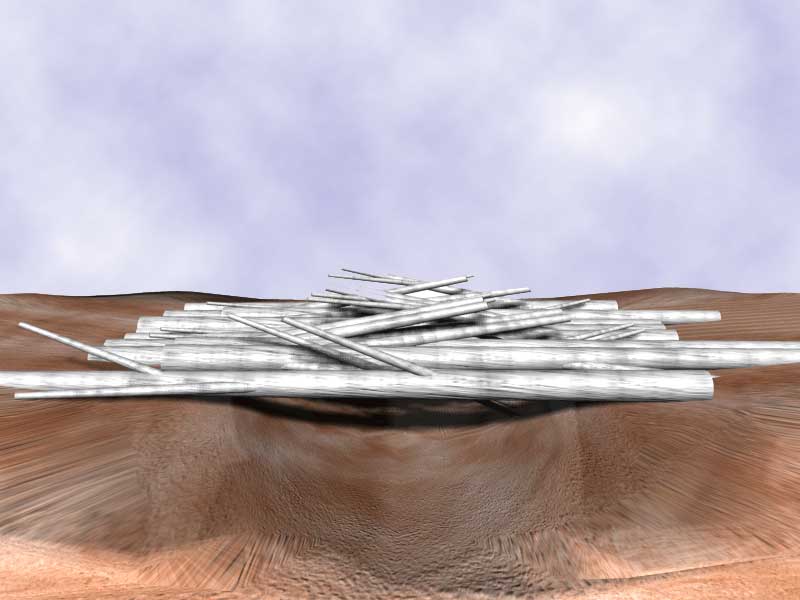
Step Two: Drag large branches and fallen deadwood over top of hole (if you are constructing this to last, use fresh cut (small) trees to make poles to cover the hole. Plug large gaps with sticks and brush as best you can.
Step Three: Use as much leaves and debris as you can to cover this wood in a large leafpile (this will typically waterproof the shelter pretty well if the leaves are large (Oak, Maple, etc). If you have a tarp, you can use it here, but my instructions will continue to use all-natural materials. Use the largest leaves you can find, preferably live, but dead will do. Although I have shown only a foot or so of leaves covering the roof, you are actually better off with two feet or more for decent waterproofing. I'm afraid that my 3D rendering software gets a little bogged down with hundreds of objects. The few hundred leaves I 3D rendered here were already quite taxing on my system, and I dared not keep adding layers!

Step Four: At this point, pile earth on top of the leaves (or tarp). This is primarily to keep them from blowing away and should not be deep. Use good judgment. If the wood you used to cover the hole is not very strong, then a few inches of dirt should do it. If you are building for permanence (a hunting shelter you want to return to), then build it strong with plenty of earth to cover it.
PRESTO... You've got a decent shelter. A nice crackling fire about 5 feet from the entrance will keep things cheery and warm. Be very careful if you used dead leaves or wood to construct your shelter! If you felt industrious, you could also build a nice reflector wall behind the fire to send a bit more light and heat into the shelter itself. Lay down a nice mattress of springy pine boughs, and you are stylin to the max!
The reason that I like this type of shelter so much is that you are only building a roof. You have relied on nature to provide walls and floor. As I stated earlier, this type of shelter is very reliant on your finding the right (or nearly right) terrain features. In mountainous or hilly terrain, it shouldn't take you more than 5 minutes to find an ideal location for this. In other areas, it will either take a bit longer, or require actual work to dig something : (
HELP SUPPORT THIS SITE - M40 SURVIVAL KITS ON SALE NOW!